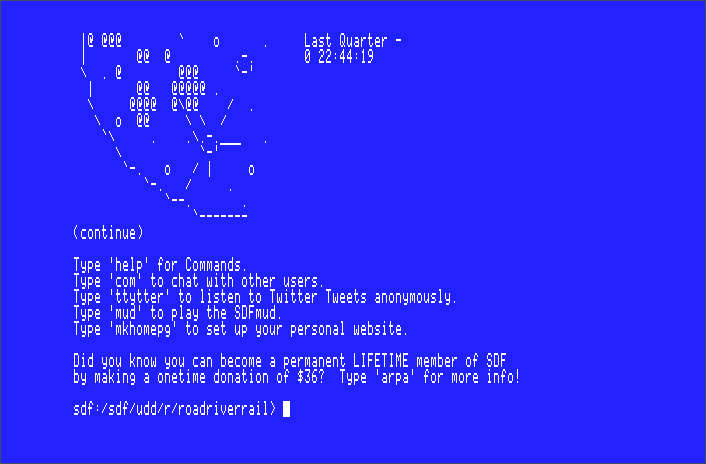
Encouraged by my previous post, I decided to make a bit of a weekend project out of finding some kind of Apple // series emulator and getting it online. As mentioned before, the two most logical ways to do this are through serial and a card called Uthernet. Since I remember that the methods for communicating with slot cards on the old Apple // series were pretty basic, it stood to reason I might find an emulator already supporting it.
I did, though not for the trusty old Apple //e of my youth. Instead, I found
the source for GSPort, an Apple //gs emulator. It boasted Uthernet
simulation, but “only on Windows”. I also noted that the Windows support
relied on WinPCAP…but libpcap is a pretty typical library to have on Linux
anyway.
It turned out it wasn’t very hard to get working. In fact, if you’d like to try it yourself, here’s what you’ll need to do:
- You’re going to need multiarch support. This is easy to do on Ubuntu, but as I have less experience with other distros, YMMV.
- Install the
i386versions oflibx11-dev,libxext-dev, andlibpcap-dev:sudo apt install libx11-dev:i386 libxext-dev:i386 libpcap-dev:i386 - Clone my fork of GSPort
- Run the following:
cd gsport/src ln -s vars_x86linux vars make - If everything went well, GSPort compiled to
gsport/gsportx, one directory up from thesrcfolder where you built. - Because GSPort relies on
libpcap, it functions in a manner similar to Wireshark, which requires you either run it as root or set some capabilities on it. I’ve chosen the latter:sudo setcap cap_net_raw,cap_net_admin=eip ./gsportx - Download a copy of the Apple //gs ROM. I will note that it is legal to possess a copy if and only if you own a proper, licensed copy of the ROM already (e.g. by owning an Apple //gs). The file is gzipped; unzip it.
- Download and unzip a copy of the
GSPort Internet Starter Kit.
Unzip it. - Launch GSPort. If you did not set the capabilities above, run it as root.
- Press
F4to enter the configuration menu. - Follow the prompts in the configuration menu to point the ROM configuration to the ROM file you downloaded.
- Follow the menu prompts to set up the Gsport Internet Starter Kit in
s7d1. - Follow the menu prompts to turn on the Ethernet card emulation and select your Ethernet adapter (NOTE: YOU MUST USE ETHERNET! NOT WIFI!).
- Return to the main configuration menu and save the configuration.
- At this point, you must restart GSport for the Ethernet configuration to
work, so either
CTRL+Cfrom the terminal or otherwise kill the emulator window. - Start GSPort again, as root if necessary.
- The Internet Starter Kit has already taken care of many critical steps for
you. Go to the Apple menu, select Control Panels, and then locate the TCP/IP
control panel. Select the option to setup a connection. Make sure that
Uthernetis the link layer being used. If you want to use DHCP (I suspect most people will), then you don’t need to do anything more, so just exit the dialog. - You do not need to click “Connect to network” unless you really want to. Internet-aware applications that ship in the starter kit can also do this for you.
- Open
Boot.Disk, thenMarinetti, thenApplications, thenTelnet - Assuming you didn’t already connect to the network, press
Cto pick up an address from DHCP. - If this goes well and the IP address looks right for your network, then press
Tand enter anaddress:portcombo to telnet to. Cross your fingers and hope it works… 
So, a few notes about GSPort and how it’s set up. Basically, GSPort uses
libpcap in a manner not unlike Wireshark. It sets the underlying network
adapter into promiscuous mode and sends its own Ethernet frames in the raw over
it. By using a MAC address similar to that of an Uthernet card, it
distinguishes itself from your actual network adapter and can filter off traffic
destined for the emulated network card. Thus, it requires either being root or
having special capabilities…and it won’t work on wifi! Basically, wifi has
some extra bits of underyling protocol to manage mapping between MAC addresses
and stations, and the process of sending Ethernet in the raw from an extra
spoofed address won’t work under that scenario.
Have any trouble with this yourself? Don’t be afraid to hit me up on Mastodon, Github, or Twitter.